Cherry Pie Filling

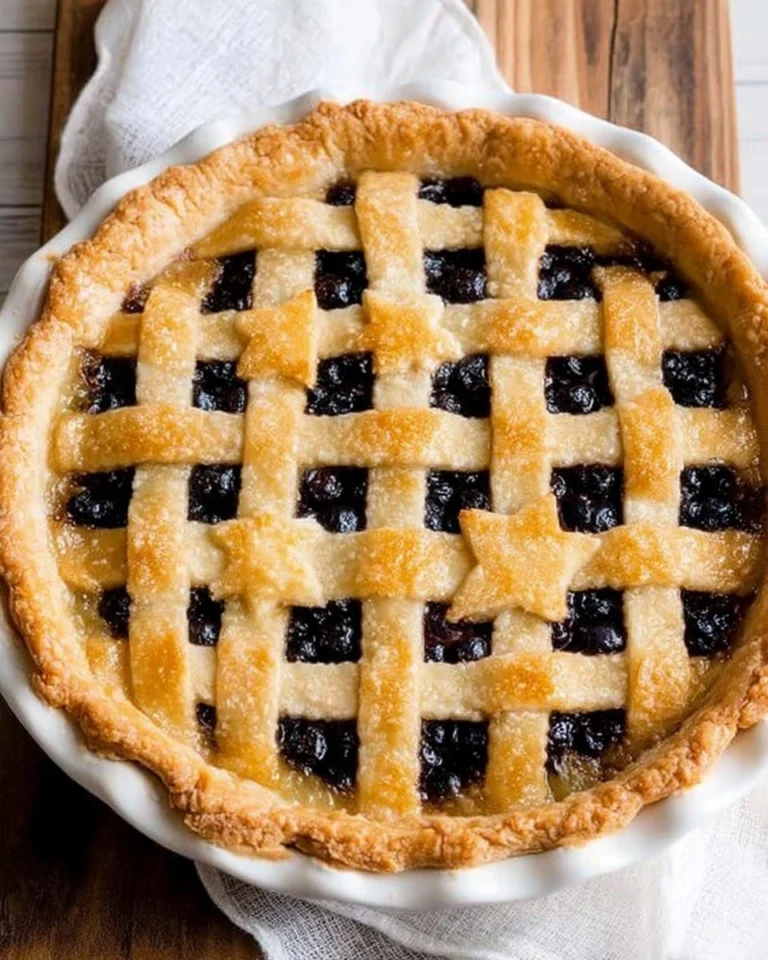
Cherry pie filling is a delightful and versatile treat, often taking center stage in our favorite desserts. Its vibrant color, sweet-tart flavor, and luscious texture can elevate any pie, pastry, or even a spoonful straight from the bowl. Imagine pulling a steaming cherry pie from the oven, the rich aroma wafting through the air—a true celebration of summer, no matter the season! This cherry pie filling recipe has been a staple in my kitchen for years, admired for its simplicity and ability to please both kids and adults alike.
Table of Contents

Whether you’ve just returned from a fruitful cherry-picking adventure or are looking for a quick way to enhance your desserts with frozen cherries, this easy recipe will have you whipping up a delicious cherry filling in no time. All you need are a few basic ingredients, and you’ll be amazed at how incredible it tastes compared to store-bought versions. Let’s get started on making this cherry pie filling that you’ll want to use for all sorts of delightful treats!
Why You’ll Love This Recipe
- Simple & Quick: Only takes about 30 minutes from start to finish, making it perfect for a last-minute dessert.
- Irresistible Flavor: The blend of fresh or frozen cherries with a touch of almond extract creates a heavenly taste.
- Eye-Catching Appeal: The vibrant ruby-red filling looks stunning in pies and pastries, sure to impress your guests.
- Flexible Serving: Use it in desserts, drizzle over pancakes, or enjoy it straight from the bowl—whatever you choose, it’s delicious!
- Diet-Friendly Options: Easily adaptable for gluten-free and dairy-free diets; just use your favorite alternatives in crusts or toppings.
Ingredients You’ll Need
- 1 lb Cherries: Fresh or frozen, both work wonders, but fresh cherries will give a brighter flavor and color. Make sure they are pitted before cooking for the best texture.
- 1/2 cup White granulated sugar: This balances the tartness of the cherries. You can substitute with brown sugar for a richer taste or even honey for a more natural sweetener.
- 1 TBSP Cornstarch: Essential for thickening the filling without impacting the flavor. If you need a substitute, arrowroot or tapioca starch can work, but you may need to adjust the quantity for thickness.
- 1 TBSP Water: A small amount to help dissolve the cornstarch and assist in creating the sauce.
- 1/4 tsp Almond extract: This gives a wonderful depth to the cherry flavor. If you prefer, vanilla extract can be used, but it will change the character of the filling.
How to Make Cherry Pie Filling
- Prepare the Cherries: If you are using fresh cherries, start by pitting them. In a medium saucepan, combine 1 lb cherries, 1/2 cup white granulated sugar, 1 TBSP cornstarch, 1 TBSP water, and 1/4 tsp almond extract. Stir everything together until well mixed; this combination sets the stage for your beautiful cherry filling.
- Cook the Mixture: Place the saucepan on medium heat. You’ll notice the cherries start to release their juices as they heat up, softening in the process. Use a potato masher to mash the cherries to your desired consistency. Personally, I prefer mashing them all for that perfect compote-like texture.
- Thicken the Filling: Continue heating the mixture, stirring occasionally. As it warms, the filling will start to thicken—it’s like magic! It typically takes around 10-15 minutes until you reach a thickened consistency. Once ready, pour it into a bowl and allow to cool completely. For quicker cooling, you can pop it in the fridge.
Storing & Reheating
To store your cherry pie filling, let it cool to room temperature and transfer it to an airtight container. It will stay fresh in the refrigerator for about 5 days. If you have leftovers or want to make ahead, you can freeze the filling for up to 3 months. Simply defrost it in the fridge overnight when you’re ready to use it! When reheating, just warm it gently in a saucepan over low heat for about 5 minutes, stirring until heated through. The flavor may deepen slightly, and that’s always a good thing!
Chef’s Helpful Tips
- Always check for any leftover cherry pits if working with fresh cherries—nothing ruins a perfect bite like a surprise pit!
- Make sure to stir the filling while it’s cooking to prevent sticking or burning. This ensures an evenly thickened filling every time.
- If you want a sweeter filling, feel free to adjust the sugar to your taste preferences. Likewise, you can add a bit more cornstarch if you prefer it thicker.
- Want to infuse more depth? Consider adding spices like cinnamon or nutmeg for an extra punch of flavor. This is especially wonderful if using in a warm pie!
- This cherry pie filling can also be used as a topping for cheesecakes, yogurt, or even ice cream. The possibilities are endless!
There you have it—a delicious, simple homemade cherry pie filling that can be used in so many ways! It’s sweet, it’s tart, and it’s the perfect addition to your dessert repertoire. I encourage you to experiment with it—add it to your favorite desserts or try it in unexpected ways. So gather up those cherries, whether fresh from the market or frozen from last summer, and get cooking!

Recipe FAQs
Can I use frozen cherries for this cherry pie filling?
Yes! Frozen cherries work just as well as fresh ones. Just remember to thaw and drain any excess liquid before cooking to get the best texture in your filling.
How can I make this cherry pie filling more flavorful?
For an extra flavor boost, consider adding a splash of lemon juice for acidity or additional spices like cinnamon. These will enhance the cherry flavor even more!
Is it possible to make this filling in advance?
Absolutely! You can prepare the filling in advance and store it in the fridge for up to 5 days or freeze it for up to 3 months. Just make sure it’s completely cooled before storing.
What’s the best way to use leftover cherry pie filling?
There are plenty of creative uses! Try it on pancakes, mixed into yogurt, atop a cheesecake, or as a filling for muffins. Get creative—it’s delicious in all forms!
PrintMore Desserts & Appetizers Recipes
- Vegan Strawberry Pie Cookies
- Homemade Cherry Crisp
- Easy Homemade Cherry Pie
- Banana Split Fluff Salad
- Antipasto Salad
Did You Enjoy Making This Recipe? Please rate this recipe with ⭐⭐⭐⭐⭐ or leave a comment.
📖 Recipe Card

Cherry Pie Filling
- Prep Time: 5 minutes
- Cook Time: 15 minutes
- Total Time: 20 minutes
- Yield: 1 1/2 cups 1x
- Category: Desserts
- Method: Stovetop
- Cuisine: American
Description
This Cherry Pie Filling offers a delightful taste with fresh or frozen cherries, a touch of almond extract, and a simple cooking method. Ideal for quick desserts and delicious pies!
Ingredients
- 1 lb Cherries, fresh or frozen
- 1/2 cup White granulated sugar
- 1 TBSP Cornstarch
- 1 TBSP Water
- 1/4 tsp Almond extract
Instructions
- Pit the fresh cherries if using them.
- In a medium saucepan, combine the cherries, sugar, cornstarch, water, and almond extract, mixing thoroughly.
- Heat on medium until the cherry juices begin to separate and the cherries soften.
- Using a potato masher, mash the cherries to your desired consistency, opting for a compote-like texture if preferred.
- Continue heating until the filling thickens, resulting in about 1 1/2 cups of filling. Pour into a bowl and allow to cool completely. For quicker chilling, refrigerate.
Notes
For a sweeter filling, adjust the sugar according to taste.
This filling can also be used for other desserts like pancakes and waffles.
Store in the refrigerator for up to one week.
Nutrition
- Serving Size: 1 cup
- Calories: 300
- Sugar: 56g
- Sodium: 2mg
- Fat: 0.5g
- Saturated Fat: 0.1g
- Unsaturated Fat: 0.4g
- Trans Fat: 0g
- Carbohydrates: 64g
- Fiber: 2g
- Protein: 1g
- Cholesterol: 0mg